Understanding Atmospheric Perspective and Creating Depth
[BY]
Pramanatha Yudana
[Category]
Tips & Tricks
[DATE]
Oct 10, 2024
Learn how to create a sense of distance and space in your artwork using atmospheric perspective, with simple techniques like adjusting value, color, and sharpness to add realistic depth.
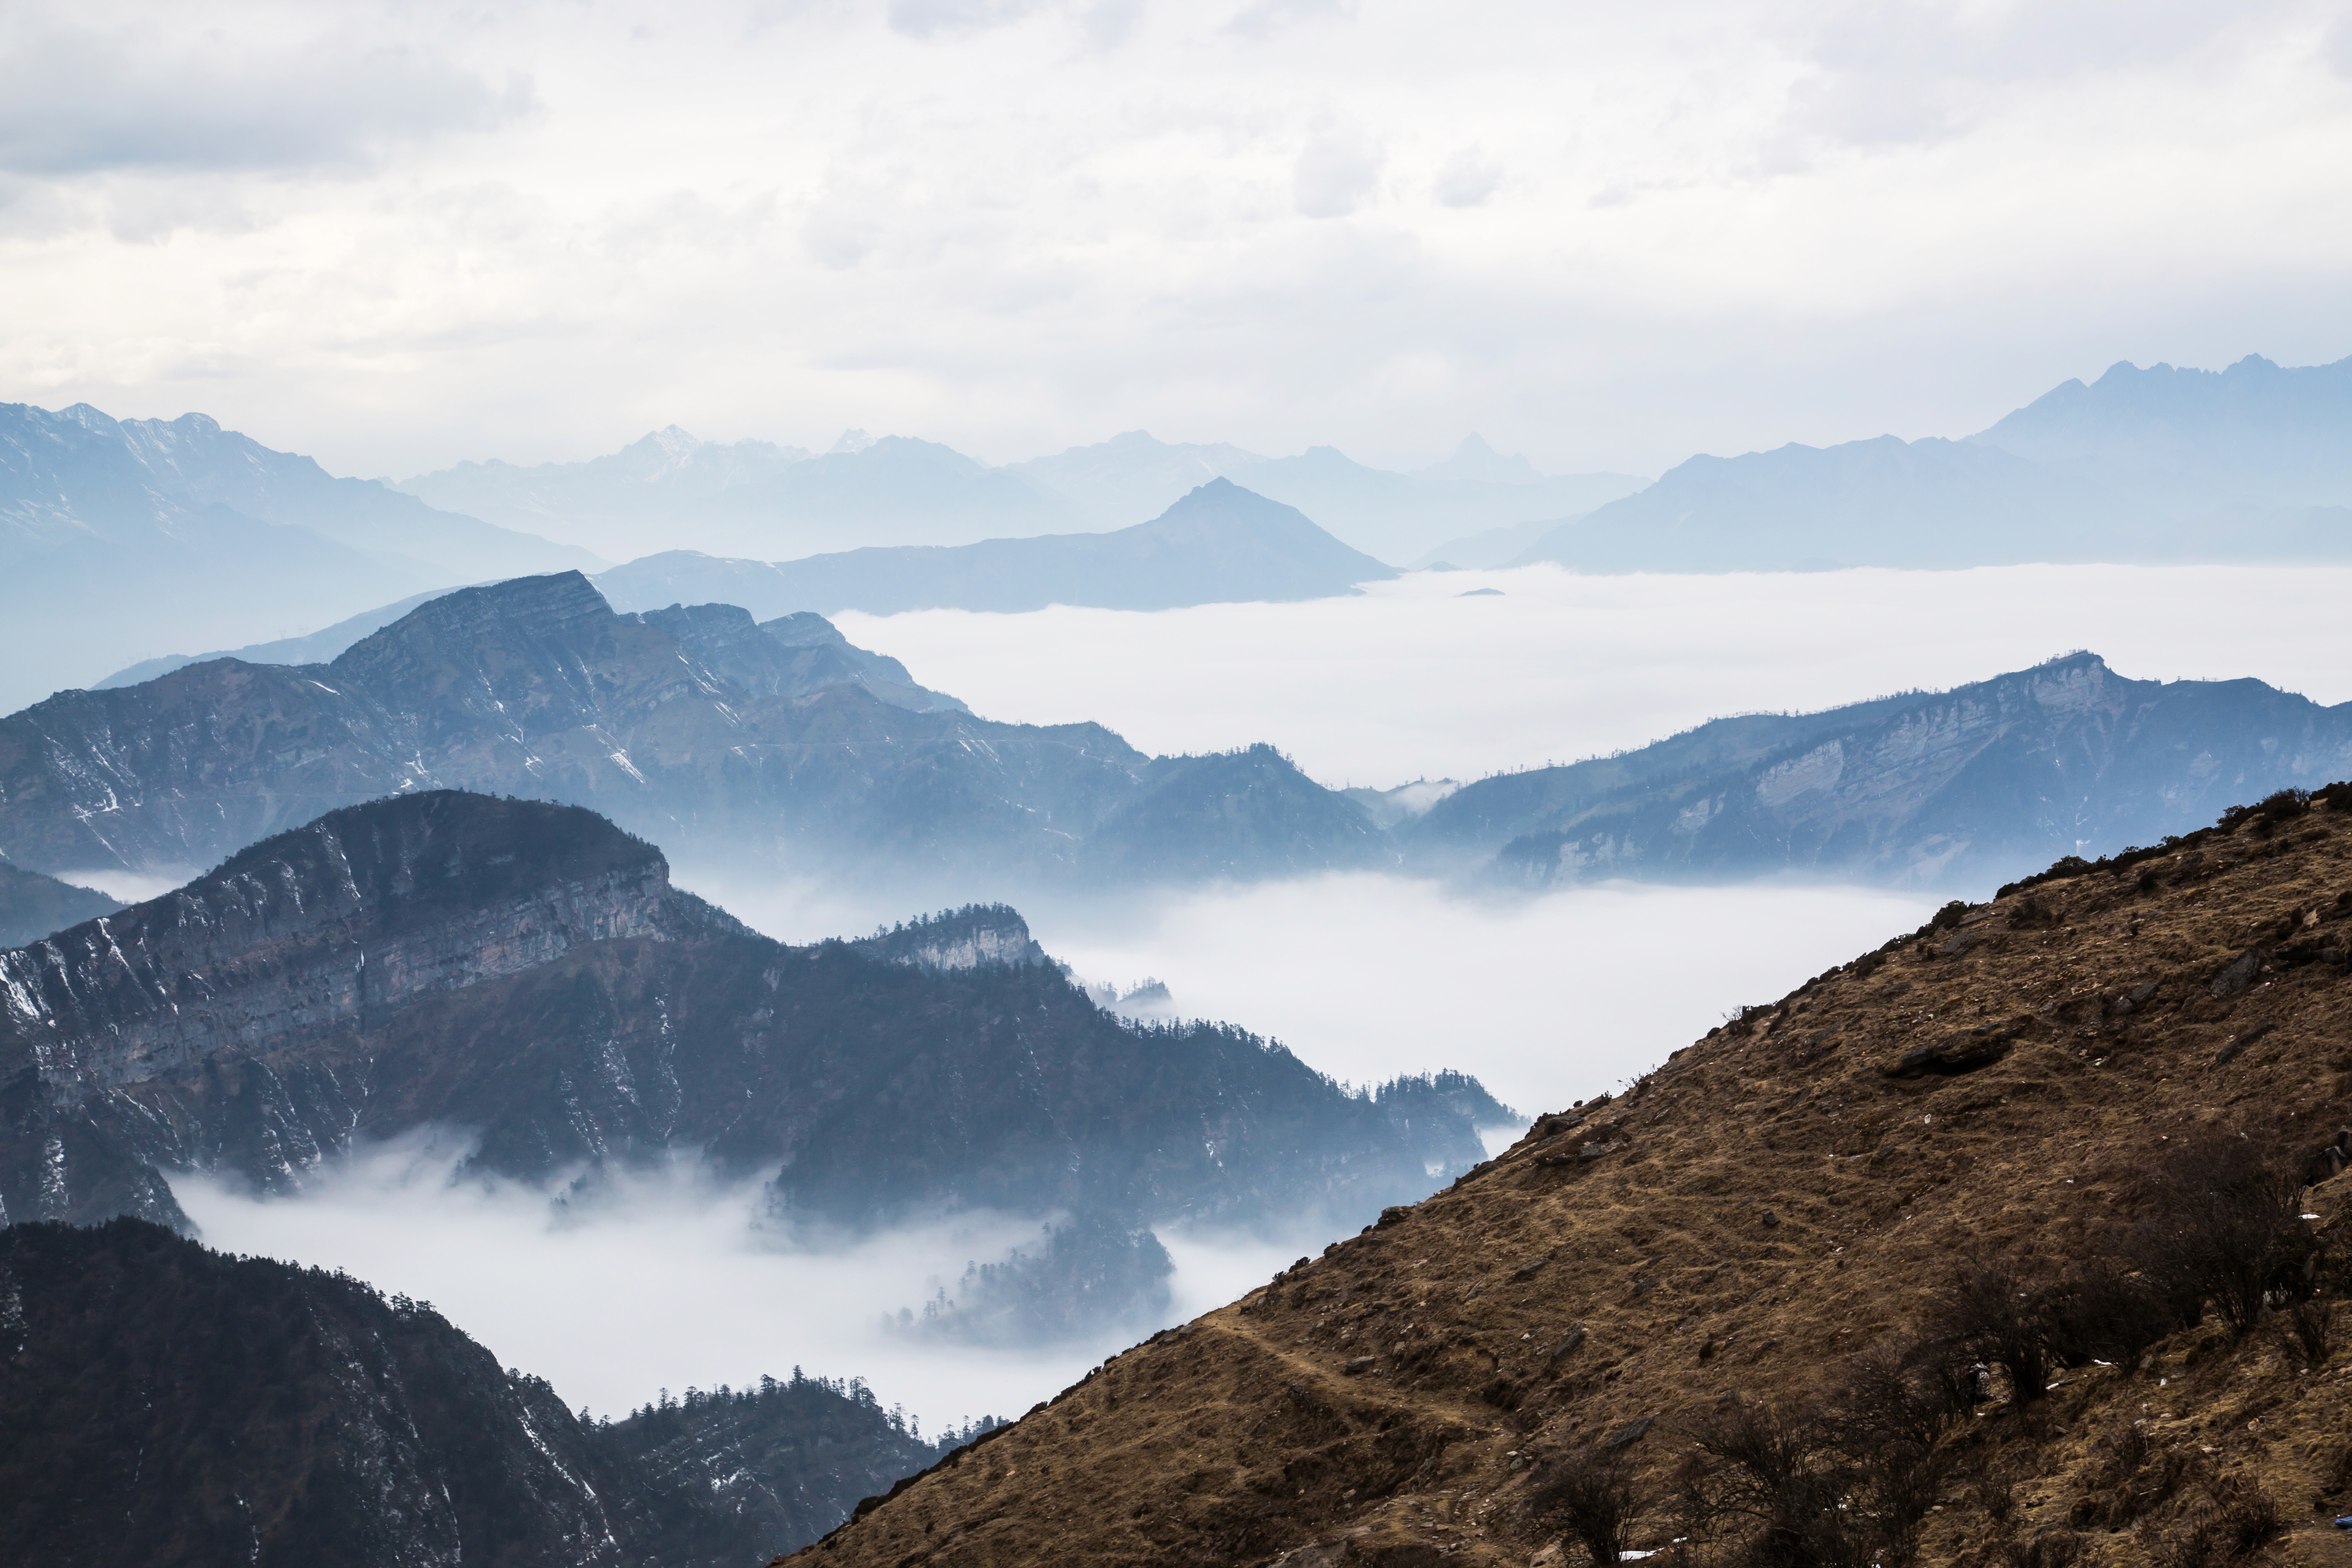
Atmospheric perspective is a technique used to create the illusion of depth by simulating how the atmosphere affects the visibility of distant objects. As elements recede into the background, they tend to lose clarity, appear desaturated, shift toward cooler tones, and take on a subtle haze due to light scattering in the air.
To apply this concept, I started by adjusting tonal contrast using Curves, selectively lifting shadows and compressing midtones to reduce clarity in background elements. I used Hue/Saturation settings to lower the saturation of distant areas, especially in warmer color ranges, helping push them back visually. A subtle Gaussian Blur was added, typically between 0.5 and 1.0 pixels, to soften sharp edges and mimic optical depth. I also layered low-opacity overlays, ranging from 10 to 50 percent, using light blues or neutral tones to simulate atmospheric haze.
Together, these adjustments help guide the viewer’s eye through the scene, establish a clear visual hierarchy, and enhance the sense of space by separating foreground, midground, and background layers with intention and subtlety.

Tool Specific Breakdown: Atmospheric Perspective in Photoshop
Value Separation (Curves)
Use a Curves adjustment layer to lift the black point and soften the midtones for background elements. Flatten contrast slightly to make objects appear farther. Mask it with a soft brush on your background layer to keep the foreground crisp.Color Desaturation
Use a Hue/Saturation adjustment layer to target specific color channels (like reds and yellows) and reduce saturation in distant elements. Global desaturation works too, but selective adjustments help maintain balance.Haze and Fog Overlay
Add a new layer set to Screen or Soft Light. Use a solid fill with light blue, gray, or neutral tones. Mask the layer and apply a vertical gradient to simulate atmospheric haze. Adjust opacity between 10 and 50 percent for a subtle effect.Edge Softening
Duplicate your background elements and apply Gaussian Blur (typically 0.5 to 1.5 pixels) to reduce edge clarity. Alternatively, use a soft brush on a mask to blur manually. This helps separate depth layers and prevent sharp background detail.Atmospheric Color Shift
Use a Photo Filter or Color Balance adjustment layer to shift background tones toward cooler hues. Cooling filters or pushing highlights and midtones toward cyan or blue can help simulate light scattering in the distance.Foreground Boost (Optional)
To strengthen the depth effect, use Levels or Curves to increase contrast, saturation, or sharpness in foreground elements. This increases separation and makes the depth effect more pronounced.
Final tip: Organize your depth zones using group folders for foreground, midground, and background. Apply adjustment layers within each group to keep your workflow non-destructive and easy to manage.